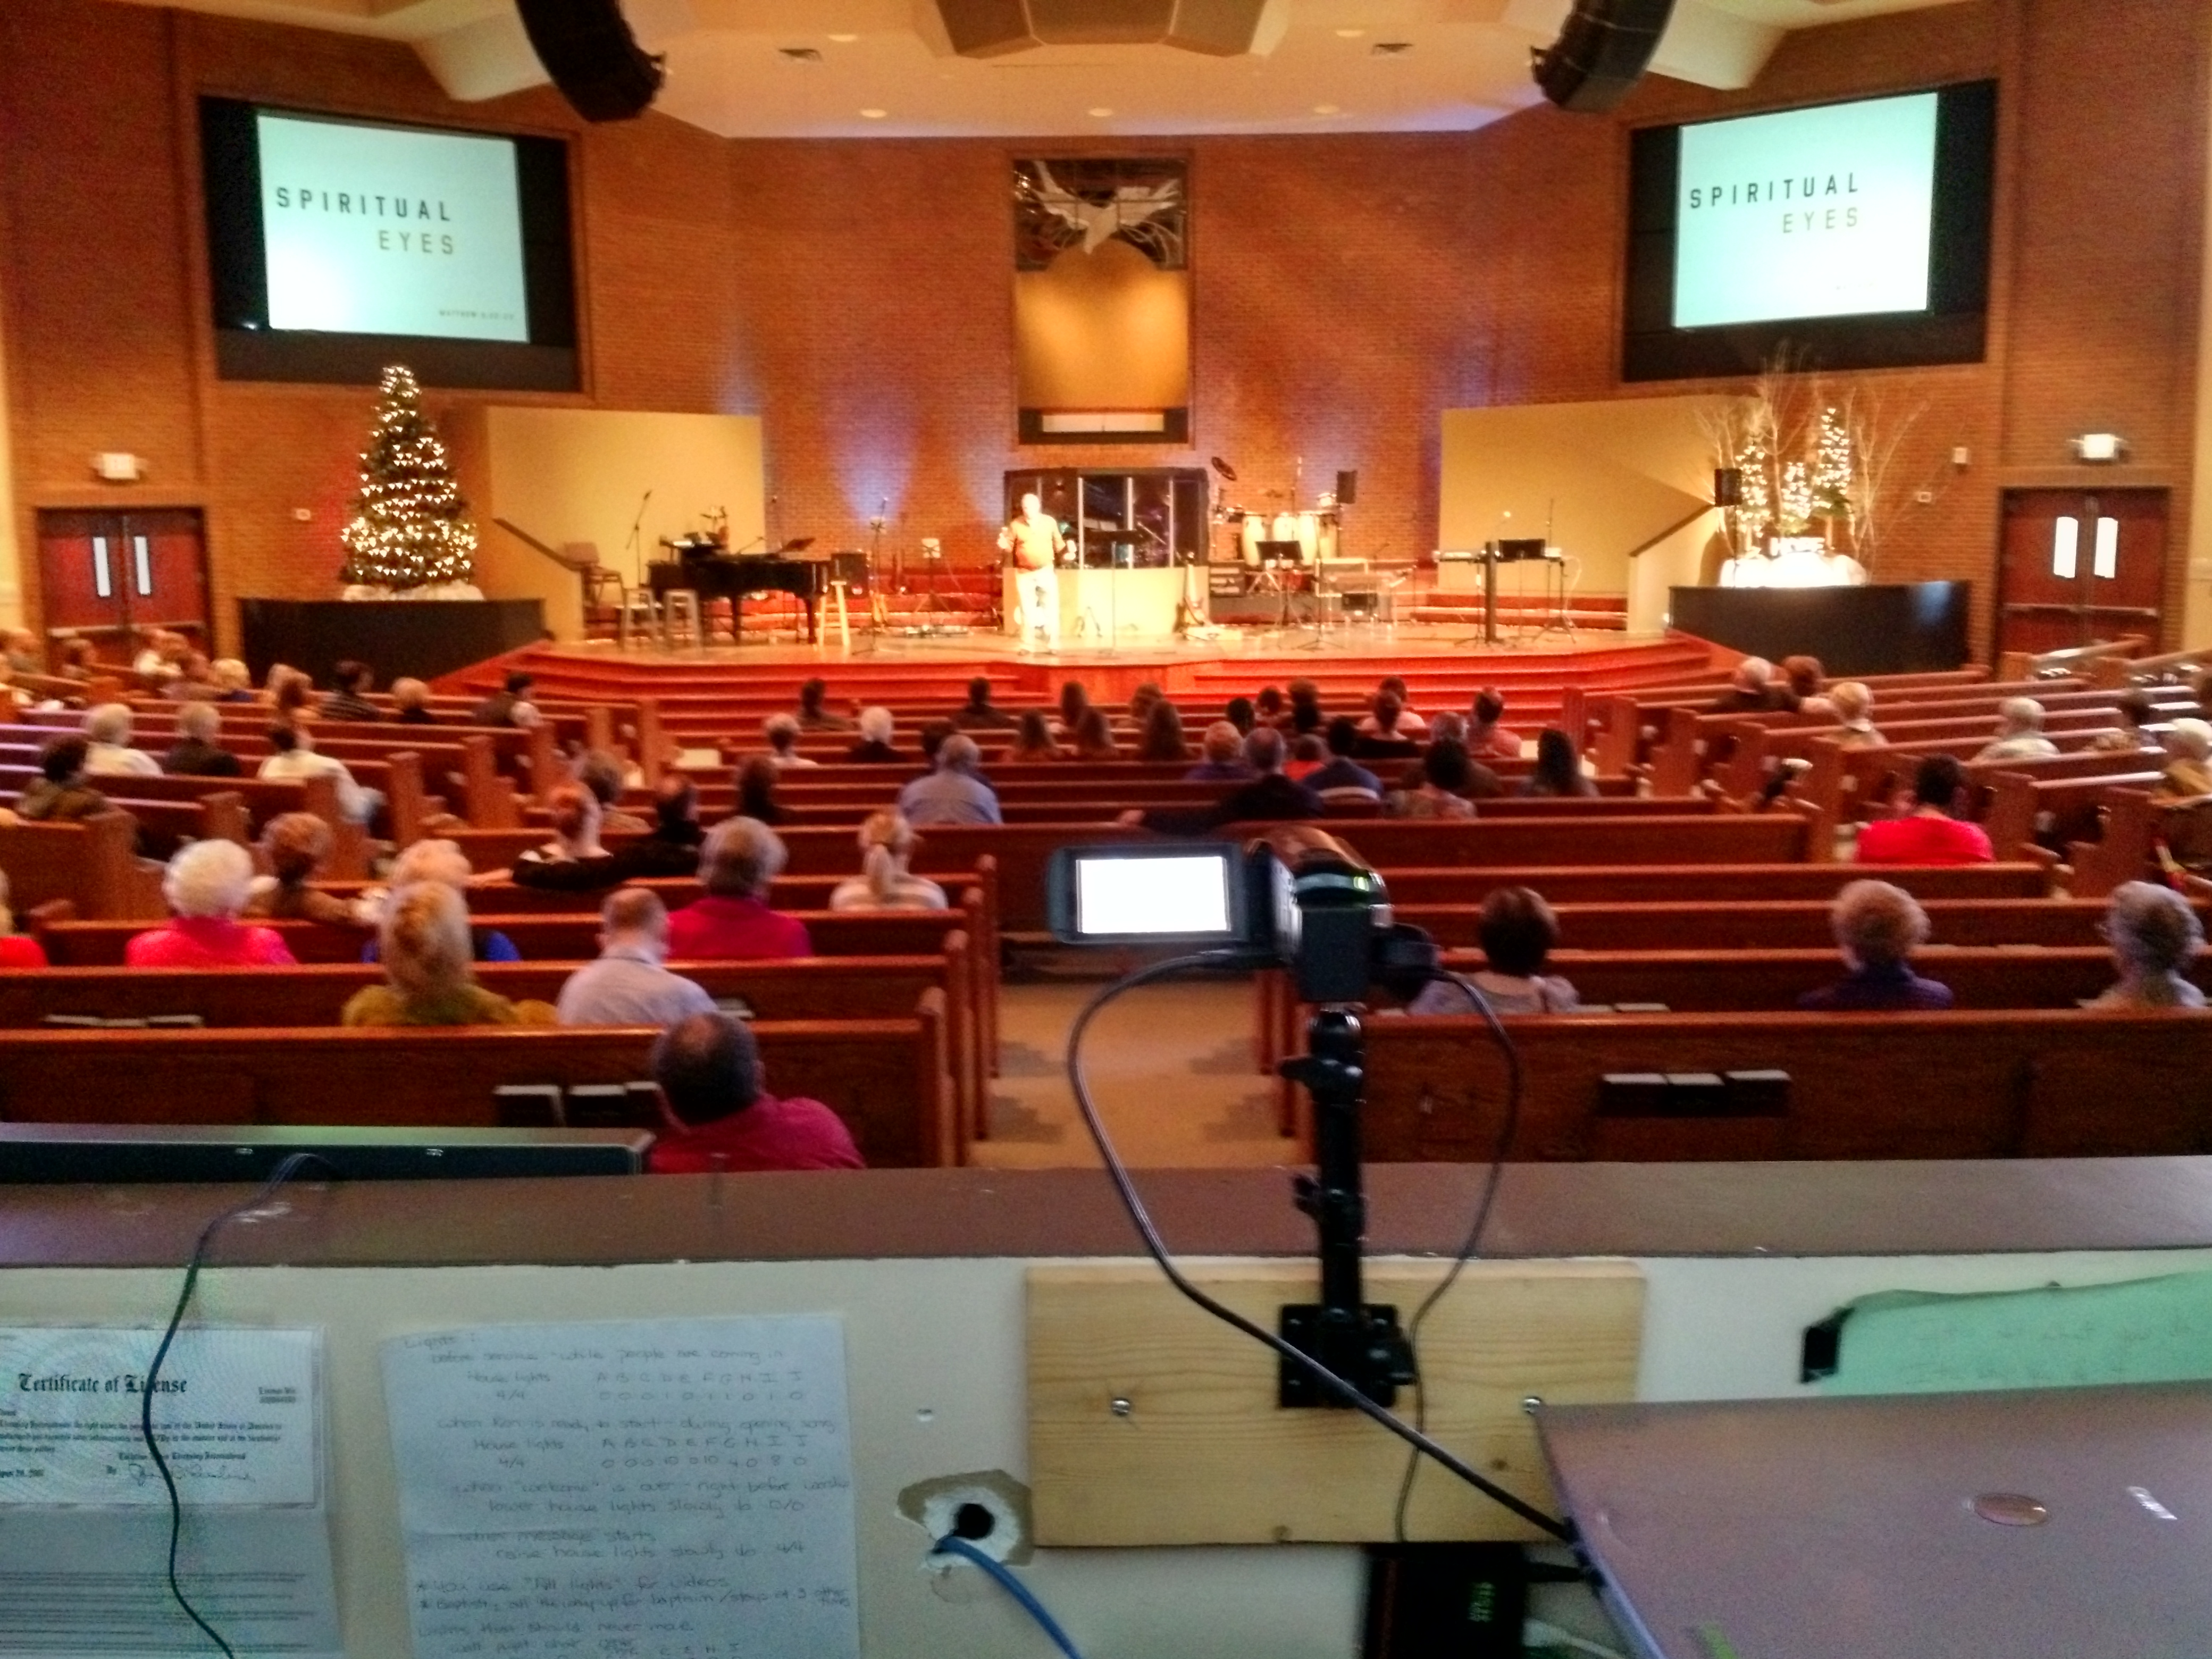
Canon Camcorder on permanent mount – click to enlarge See video below to see how the camcorder zooms.
Challenged with finding an inexpensive way to stream a church service to the internet with a shoe-string budget, I have arrived at a setup I believe is worth sharing that costs about $500 (if you use a existing desktop computer). Here is a video we streamed to YouTube recently…
The upfront cost to do this (assuming you already have a computer) is about $500. Monthly expenses are less than $10/month.
We realized that gamers are constantly streaming/recording their games to YouTube or other streaming sites and we’d do well to utilize the systems gamers use on a low budget. However gamers don’t need to record activity at a distance, its normally confined to a single room in a home, so we needed to find the right video capture device.
We did go through a variety of configurations and learned some valuable lessons.
- Webcams are not capable of focusing at a distance in low light and the digital zoom gives poor results. – This failed – click to see video.
- Digital SLR’s have great lenses and can record and stream video but motion is blurry and we found the camera pauses every 5 minutes or so.- This failed. – Click to see video.
Our final configuration
Here is the equipment and software we settled on
- Canon Vixia HF 600 Camcorder – $250
- Arkon Camera Wall Mount – $35
- Avermedia HD Gamer Video Capture Card – $190
- XSplit Broadcaster – Free initially, Premium account is $8.95/Month
- YouTube Live – Free!!
The Canon Vixia 600 camcorder was cheap since its a discontinued model, the current 700 series model will set you back $300.
Details of how we set it up
Camcorder and mount.
We chose to mount the camcorder on a fixed mount onto a wall in the media booth. Using a tripod on top of our work surface in the booth took up valuable space and the video image vibrated as media personnel went about their duties on the work surface. The Camcorder came with a HDMI cable to attach to the computers capture card. Since we are streaming only, no memory card is needed for the camcorder!
The Vixia camcorder can be configured to remember the last zoom position and can be left attached to a power source and the media computer at all times. It’s truly ‘set it and forget it’ once you have tweaked things the way you like it.
It was necessary to turn the microphone volume down to zero on the camcorder to avoid a hiss or any feedback.
The only thing media personnel need training on is where the on/off switch is for the camcorder.
Avermedia Capture Card.
The Avermedia capture card is installed into a PCI-Express Slot. It is a ‘1x’ PCI Express card so should fit any PCI-Express slot not just the smaller 1x slots. The card came with a nice array of cables, none of which we needed and comes with a 3 month subscription to XSplit, our chosen software for streaming to YouTube. For some reason the card comes without a driver CD and the card isn’t recognized by Windows. You’ll need to download the latest software and driver package from the Avermedia website. It was a painless install.
XSplit Broadcaster.
XSplit is free to try. Installation is easy enough.
Add the camcorder as a “source” for video and you are set for video capture.
XSplit can be configured to always source audio from the ‘microphone in’ on the computer – we have a cable that runs from the headphone jack on the soundboard to the computer microphone in. We record audio separately using Audacity for some projects when video isn’t needed, so we prefer not to connect the audio to the camera or video capture card directly.
YouTube Live
Resist the temptation to use a personal YouTube account and establish an account linked to the organizations main email address. Once established Live Streaming is activated by visiting “My Channel” and then “Video Manager”. Live streaming is an available option in Video Manager. Follow the “Live Stream Checklist” which guides you in the steps necessary to create a live stream feed on the YouTube account.
Under “Stream Options” there is a section for Encoder Setup. Copy the URL and paste it into XSplit to link XSplit to YouTube account. The option in XSplit is under the “Broadcast” menu.
We enable the DVR option under Stream options, which creates a permanent recording of all live streams.
At this point you should be setup to test the stream.
YouTube have a rudimentary editor that allows videos to be trimmed. As a rule we stream/record only the sermon. Music and videos will attract attention from copyright holders. Copyright violations could result in the account being terminated. Most often the rights holder allows the copyrighted content to be posted on YouTube and YouTube sells advertising space on top of your video. This will not happen if no copyrighted material is posted on YouTube.
The YouTube video editor is hard to use and is very basic. We encourage media personnel to start and stop the stream so that only the sermon is streamed and recorded therby eliminating the need to do any editing at all.
Our next steps – Multiple camcorders and mixing video
Our next step will be to install multiple cameras and capture cards so that we can switch between a close up or wide views. Currently the streaming is done on our main media computer. This is the cheapest option and makes things tricky for the media team.
Handling multiple cameras will require us to buy a dedicated computer for video. That will have to wait for funds to be available. XSplit has the ability to manage up to 16 video feeds, so video switching/mixing can be done all in one interface. It saves the need for a dedicated video switch hardware and allows multiple video feeds to be merged or overlay-ed.
